

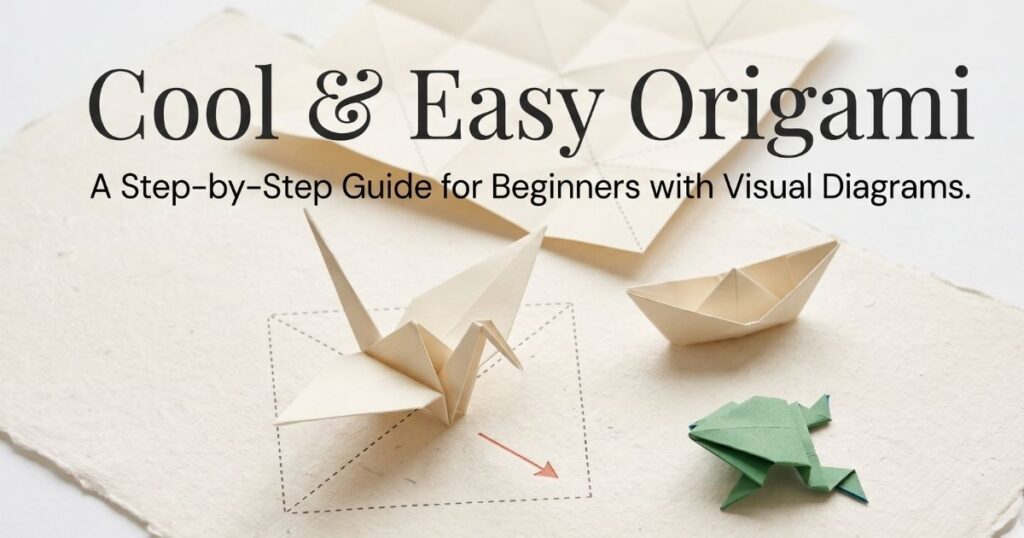
A complete step-by-step tutorial — with visual diagrams — so you can fold like a pro, even on your very first try.
What Is Origami — And Why It’s Easier Than You Think
Origami is the Japanese art of paper folding. The word comes from oru (to fold) and kami (paper). With nothing but a single square of paper and your hands, you can create butterflies, birds, flowers, boats, and even jumping frogs.
The best part? You don’t need any special skill, tools, or talent to start. In this tutorial, you’ll learn three classic origami projects — a Paper Boat, a Jumping Frog, and an Origami Crane — presented with clear diagrams at every single step, just like a video tutorial, but in written form.
Each project has numbered steps with a diagram underneath. Read the instruction, look at the diagram, then fold. If you get confused, re-read the step before doing anything. Slow folds are better than fast ones.
What You’ll Need
Pro Tip: Always fold on a hard, flat surface. Use your thumbnail to press down each crease firmly. A sharp crease is the secret to clean, beautiful origami.
The Classic Paper Boat
The paper boat is one of the oldest and most satisfying origami projects in the world. It’s sturdy enough to actually float in water for a short time, making it especially fun for kids. Once you learn it, you’ll be able to make one in under two minutes.
For this project, use a rectangular sheet of paper — standard A4 or letter-size works perfectly. You do NOT need a square sheet for the boat.
Landscape orientation
Place your paper horizontally — wider than it is tall.
Fold in half
Bring the top edge down to the bottom. Crease and unfold. Repeat left to right to find center.
Fold top corners
Fold the top-left corner diagonally to the center line. Repeat with top-right. You get a hat!
Fold bottom strip up
Fold the bottom strip upward on both sides of the hat shape.
Open into a square
Push the two side points together to open into a flat square/diamond shape.
Pull open into a boat
Gently pull the top two points apart. The boat opens up! Press the base flat to finish.
Make It Float: Use wax paper or slightly press the inside of the boat flat with your thumb. Place it gently on water and watch it sail! It’ll float for a few minutes.
The Jumping Frog
The origami jumping frog is incredibly fun — when you press its back and let go, it actually jumps! It’s one of the most popular origami models for children and adults alike. You’ll need a rectangular piece of paper (an index card or stiff paper works best for maximum jump).
The stiffer the paper, the higher the frog jumps. Try using an old business card or an index card. Press your finger on the back of the frog, slide forward, then release quickly!
The Origami Crane
The crane is the most iconic origami model in the world. In Japanese culture, folding 1,000 cranes (called senbazuru) is said to grant a wish. It looks complex, but with patience, any beginner can do it. Use a square sheet of paper.
Make all creases
Fold both diagonals and both mid-lines. Unfold each time. These are your guides.
Collapse to triangle
Push all four corners together to form a flat triangle. This is the preliminary base.
Squash fold each flap
Open each of the four flaps and squash flat into a square. This is the Square Base.
Kite folds in
Fold left and right edges to the center line. Fold the top down. Unfold. Repeat on back.
Inside reverse folds
Use the creases to push the narrow points up inside the model. This makes the Bird Base.
Shape neck, beak, wings
Reverse fold one tip down slightly for the beak. Pull wings apart gently to puff the body.
Legend says: In Japan, it’s believed that anyone who folds 1,000 origami cranes will be granted a wish by the gods. They’re often folded as gifts of healing, good luck, and long life. Try folding just 10 first!
7 Tips to Fold Like a Pro
Origami is a skill that improves with every fold. Here are seven tips that will make every model you create cleaner, sharper, and more satisfying.
Align edges perfectly
Before creasing, always make sure edges and corners match exactly. Even 1mm off compounds over many folds.
Work on a flat surface
Always fold on a table or book — never in the air. A hard surface gives you control.
Crease with your thumbnail
Run your thumbnail firmly along every fold line. Soft creases lead to sloppy results.
Use origami paper
Kami paper (thin, colored one side) is ideal. Regular copy paper also works but is slightly thick.
Read the step before acting
Always understand what you’re about to do before touching the paper. Undoing a bad fold wastes the crease.
Don’t rush
Speed comes naturally after 3–4 repetitions. Your first attempt is for learning, not speed.

“I’m Erin, a crafting expert dedicated to making art accessible and fun for everyone. From jumping origami frogs to beautiful paper flowers, I love designing easy, engaging craft tutorials that spark creativity and bring families together.”
