

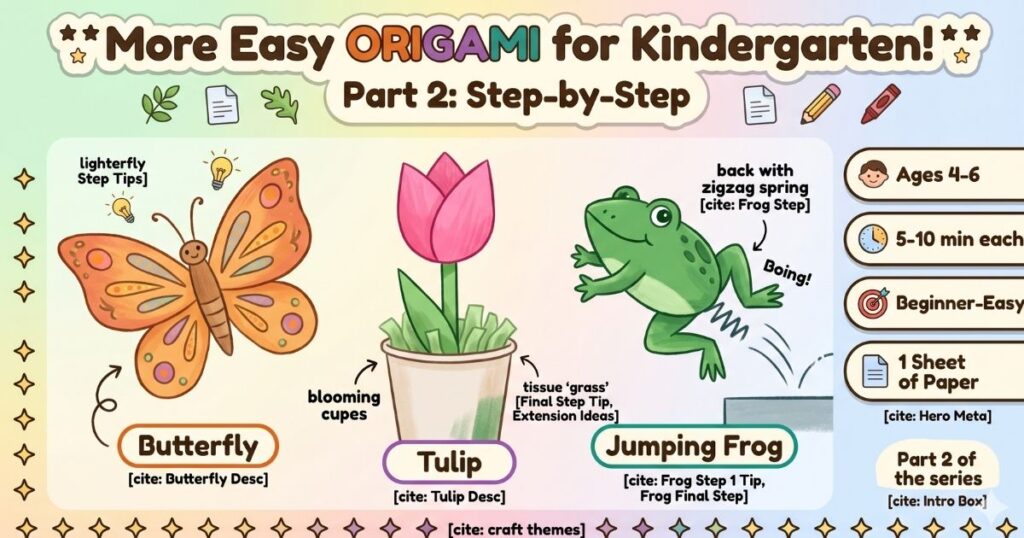
Three more fun origami projects for little hands! A butterfly, a tulip flower, and a jumping frog — all made from just one sheet of paper.
Same simple supplies as before — just grab a fresh sheet of paper!
🦋 Origami Butterfly
Place your square paper flat. Fold the top edge down about 1.5 cm, then fold it back the other way. Keep going — fold forward, fold back — all the way down the paper. This is called an accordion or fan fold.
Once the whole paper is folded into a fan shape, pinch it firmly in the very middle with your thumb and finger. Squeeze it tight so it stays together. You now have a little fan shape.
Cut or tear a small strip of paper (about 1 cm wide) and wrap it tightly around the center pinch point. Twist it firmly so the butterfly body stays in place. You can also use a pipe cleaner for a fun look!
Gently fan out both sides of the accordion folds to create the butterfly’s wings. Spread them open as wide as you like. Decorate with dots, stripes, or patterns using markers!
🌷 Origami Tulip
Place your square paper as a diamond shape (corner pointing up). Fold the bottom corner up to meet the top corner. Press the fold flat. You now have a triangle with the fold at the bottom and the open edges at the top.
You have a big triangle pointing up. Now fold the left bottom corner up so it meets the top point of the triangle. Do the same with the right bottom corner. You’ll now have a diamond shape!
You have a diamond. Now fold the top-left flap outward to the left, and the top-right flap outward to the right. These are the tulip’s petals spreading open! Press the folds gently.
Flip your tulip so the bottom opening faces you. Gently blow into the small hole at the bottom — the tulip will puff up into a 3D flower shape! Then tuck the flap into the pocket to seal it.
🐸 Origami Jumping Frog
Start with a green rectangular piece of paper. Fold the top half down to meet the bottom edge. Press the crease firmly, then unfold it back open. You should see a horizontal crease across the middle.
Fold the top-left corner diagonally down so it touches the center crease line. Do the same with the top-right corner. You’ll see a triangle/house shape form at the top of the paper.
Look at the lower half (the body). Fold the left edge of the body inward toward the center. Do the same on the right edge. The body should now be narrower — like a rectangle in the middle.
Fold the bottom edge up about halfway, then fold it back down to create a spring-like zigzag at the bottom. This is the frog’s back legs! Now place it on a table and press the back down and release — it will jump!
🌟 Fun Extension Ideas

“I’m Erin, a crafting expert dedicated to making art accessible and fun for everyone. From jumping origami frogs to beautiful paper flowers, I love designing easy, engaging craft tutorials that spark creativity and bring families together.”
